
How to Build a Fully Local AI Coding Agent with Ollama + OpenCode (No Cloud, No API Keys, No Monthly Bill)

Cloud-based AI coding assistants are great — until you hit a usage cap, worry about sending your code to someone else’s server, or just don’t have Wi-Fi on a flight. What if your coding agent lived entirely on your machine instead?
In this guide, I’ll walk you through setting up a completely local AI coding agent using three free tools:
- Ollama — runs AI models locally on your machine
- Qwen3:8B — a lightweight but surprisingly capable open-source model
- OpenCode — an AI coding agent that plugs straight into your terminal and VS Code
No API keys. No cloud bills. No internet required once it’s set up. I tested this whole stack on a mid-range laptop (16GB RAM, 8GB VRAM, RTX 3070), so if your machine can run a modern game, it can probably run this too.
Let’s get into it.
What You’ll Need
- A laptop or desktop with at least 8GB of VRAM (or a decent amount of unified/system RAM if you’re on Apple Silicon)
- Node.js installed (for OpenCode)
- About 10–15 minutes and a few GB of free disk space
💡 Picking a model for your hardware: Qwen3:8B is a solid middle-ground choice — small enough to run smoothly on 8GB of VRAM, but sharp enough to handle real coding tasks. If you’ve got a beefier GPU (16GB+ VRAM), you could size up to a larger Qwen3 variant for better results. If you’re on a lighter laptop, Ollama also has smaller models (like 3B–4B parameter ones) that’ll run more comfortably.
Step 1: Install Ollama
Ollama is the engine that runs the AI model on your machine — think of it as the “server” your coding agent will talk to.
- Head to ollama.com and download the installer for your OS (Windows, macOS, or Linux).
- Run the installer like any other app.
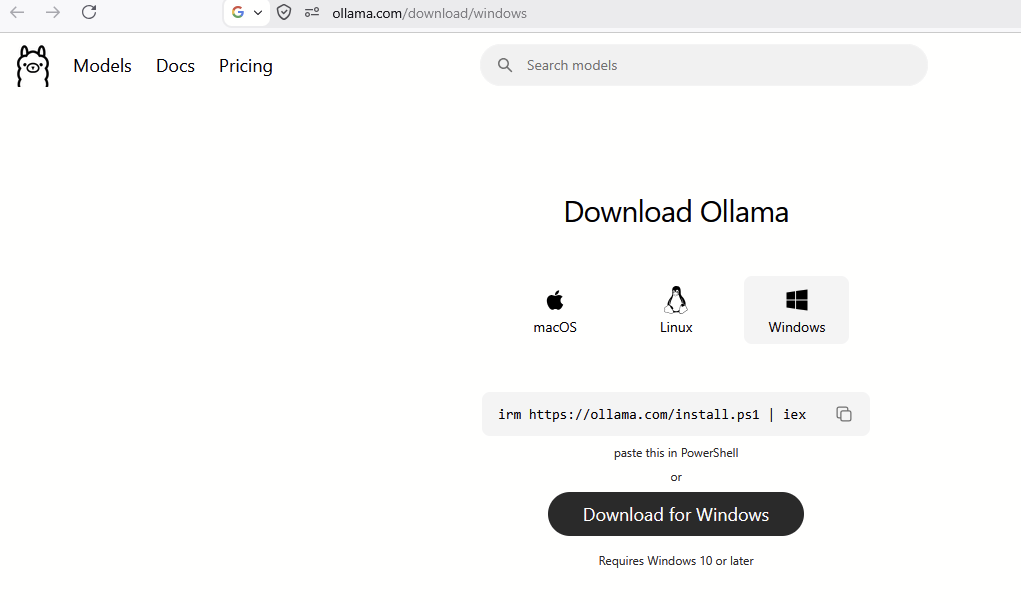
Once it’s installed, Ollama runs quietly in the background and exposes a local API at:
http://localhost:11434

You won’t need to touch this URL directly — just know it’s there, because we’ll point OpenCode at it later.
Step 2: Download the Qwen3:8B Model
With Ollama installed, open your terminal and pull the model:
ollama pull qwen3:8b
This downloads the model’s weights to your machine (a few gigabytes, so grab a coffee ☕). You’ll see a progress bar as it downloads:
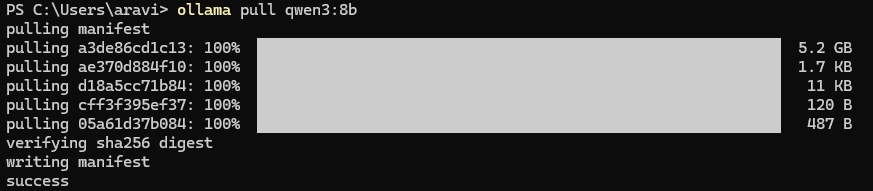
Once it’s done, you’ll see a confirmation that the model is ready to use. That’s it — you now have a full AI model running locally, with zero cloud dependency.
Step 3: Install OpenCode
OpenCode is the actual “agent” — the tool that reads your code, understands your prompts, and makes edits, all from your terminal or VS Code.
Install it globally via npm:
npm install -g opencode-ai
Step 4: Point OpenCode at Ollama
Now we need to tell OpenCode “hey, don’t call OpenAI or Anthropic — talk to the model running on my own machine instead.” This is done through a config file.
-
Create (or open) the
opencode.jsonconfig file at:- Windows:
C:\Users\<YourUsername>\.config\opencode\opencode.json - macOS/Linux:
~/.config/opencode/opencode.json
- Windows:
-
Paste in the following config (also available as a gist here):
{
  "$schema": "https://opencode.ai/config.json",
  "model": "ollama/qwen3:8b",
  "provider": {
    "ollama": {
      "npm": "ollama-ai-provider-v2",
      "name": "Ollama (Local)",
      "options": {
        "baseURL": "http://localhost:11434/api"
      },
      "models": {
        "qwen3:8b": {
          "name": "Qwen3 8B (local)",
          "tool_call": true,
          "limit": { "context": 16384, "output": 4096 }
        }
      }
    }
  }
}
A quick breakdown of what matters here:
baseURL— points OpenCode to Ollama’s local API instead of a cloud providertool_call: true— enables the agent to actually run tools/commands, not just chatlimit.context— how much text the model can “remember” in a single session (adjust down if you’re low on VRAM)
Step 5: Fire It Up Inside VS Code
- Open your project folder in VS Code.
- Open the built-in terminal (
Ctrl+`orCmd+`). - Type:
opencode
- Inside OpenCode, run
/modelsand select Qwen3 8B from the list.
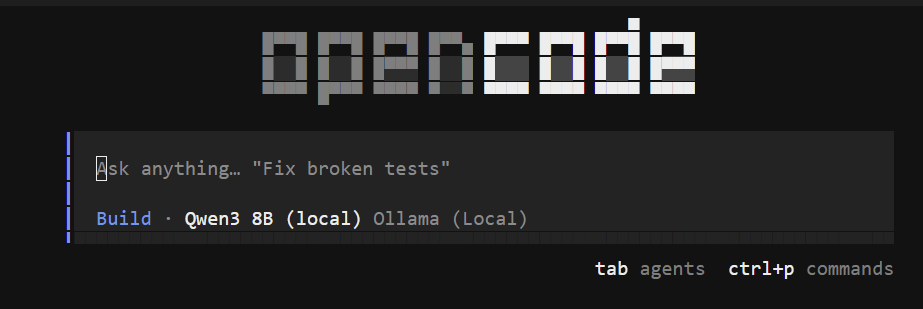
Step 6: Test Your Local Coding Agent
Give it a small task — ask it to explain a function, write a test, or refactor a snippet. If it responds and starts editing files, congratulations: you now have a private, offline, zero-subscription AI coding agent running entirely on your own hardware.
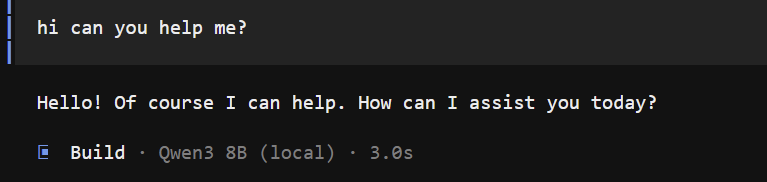
Troubleshooting Tips
- OpenCode can’t connect to the model? Make sure Ollama is actually running in the background (
ollama listshould showqwen3:8b). - Responses feel slow? That’s normal for local inference on consumer hardware — try a smaller model if speed matters more than capability.
- Out of memory errors? Lower the
contextlimit in your config, or switch to a smaller model like a 3B or 4B parameter variant.
Why Bother Going Local?
- Privacy — your code never leaves your machine
- No usage limits or subscriptions — it’s yours, forever, for free
- Works offline — perfect for flights, coffee shops with bad Wi-Fi, or secure environments
- Great for learning — you get hands-on with how these agent tools actually work under the hood
Frequently Asked Questions
Do I need a powerful GPU to run this? No — Qwen3:8B runs comfortably on 8GB of VRAM. Lighter models are available if your hardware is more modest.
Can I use a different model instead of Qwen3:8B?
Yes. Any model available through Ollama can be swapped in — just update the model field in your opencode.json and pull it with ollama pull <model-name>.
Is OpenCode free? Yes, OpenCode is free and open-source, and pairing it with Ollama means the entire stack costs nothing to run.
That’s the whole setup — a private, local AI coding agent with no cloud, no API keys, and no bill at the end of the month. If you try this out, I’d love to hear which model worked best on your hardware.